
Magesh Ravi
Artist | Techie | Entrepreneur
Magesh Ravi
Artist | Techie | Entrepreneur
Defining SEO attributes for every single page is tiring (though it is necessary). I prefer having default values for site-wide SEO content (like title and meta description), and overriding them in specific pages when necessary.
In django, values are passed from views to templates through the context. Imagine context processors as middlemen merging more values into the context.
In Django's own terms, a context processor is,
A set of request processors that return dictionaries to be merged into a template context. Each function takes the request object as its only parameter and returns a dictionary to add to the context.
These are referenced from the 'context_processors' option of the configuration of a DjangoTemplates backend and used by RequestContext.
Source: djangoproject.com
If you are not using context processors already, it is very likely that your template has conditionals.
{% if seo_title %}
  <title>{{ seo_title }}</title>
{% else %}
  <title>My website title</title>
{% endif %}

{% if seo_description %}
  <meta name="description" content="{{ seo_description }}">
{% else %}
  <meta name="description" content"My website meta description">
{% endif %}
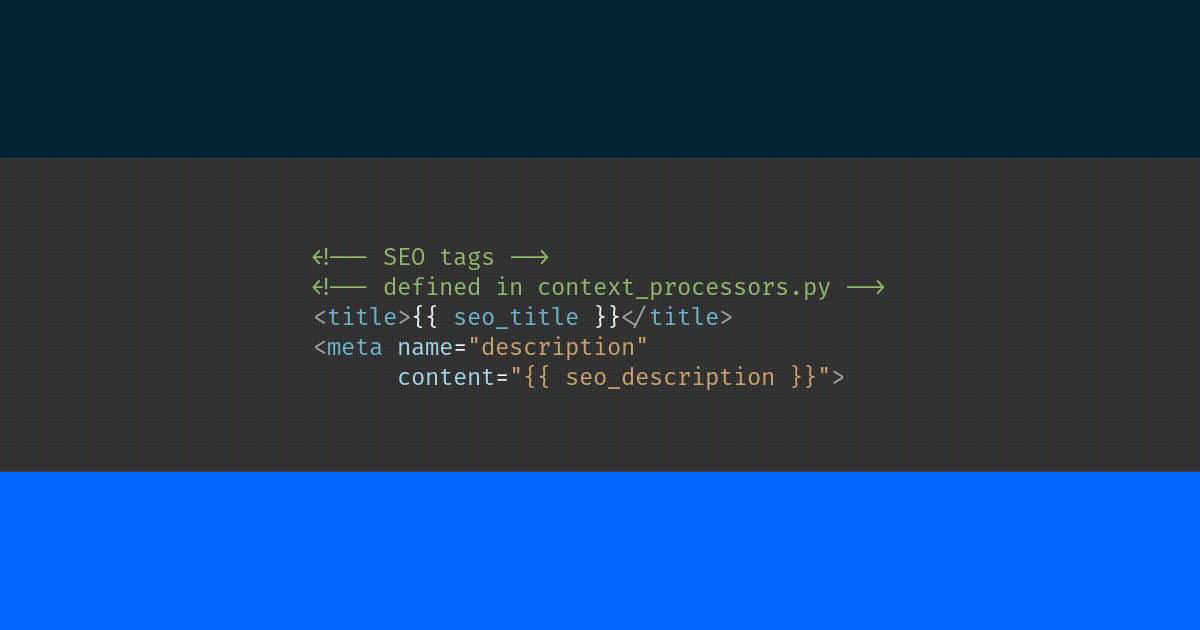
Get rid of all the conditionals so that your template looks like this,
<title>{{ seo_title }}</title>
<meta name="description" content="{{ seo_description }}">
Now, if your view does not define seo_title or seo_description explicitly, the rendered values will be empty. We will define default values in the next step.
Create a new file context_processors.py in your app with the below contents,
# located in mysite/app/context_processors.py
from django.http import HttpRequest


def seo_attrs(request: HttpRequest):
    """returns seo attributes to be merged into the context

    Arguments:
        request {HttpRequest} -- request object
    """
    return {
        'seo_title': 'My site title',
        'seo_description': 'My site description'
    }
In your project's settings.py, include the newly created context processor function.
TEMPLATES = [
    {
        'BACKEND': 'django.template.backends.django.DjangoTemplates',
        'DIRS': [],
        'APP_DIRS': True,
        'OPTIONS': {
            'context_processors': [
                'django.template.context_processors.debug',
                'django.template.context_processors.request',
                'django.contrib.auth.context_processors.auth',
                'django.contrib.messages.context_processors.messages',
                'app.context_processors.seo_attrs', # add this line
            ],
        },
    },
]
Now that the context processor is included in the app, the values for seo_title and seo_description will available in the template, even if not defined in the view. The next step is to override these default values.
Overriding values defined in context processors is as simple as defining an item in the context dictionary.
context = {
  'blog_post': blog_post,
  'seo_title': blog_post.title,             # overrides context processor value
  'seo_description': blog_post.description  # overrides context processor value
}

return render(request, 'index.html', context)
That's it! By using Django's context processors, I don't have to worry about setting SEO attributes for every single page. With defaults in place, I only have to override them when I need to.
Here's something to practice. Try creating a new context processor function to manage twitter card and open graph attributes.
<!-- Twitter card data -->
<meta name="twitter:card" content="{{ tw_card }}">
<meta name="twitter:site" content="{{ tw_site }}">
<meta name="twitter:title" content="{{ tw_title }}">
<meta name="twitter:description" content="{{ tw_description }}">
<meta name="twitter:creator" content="{{ tw_creator }}">
<meta name="twitter:image" content="{{ tw_image }}">

<!-- Open Graph data -->
<meta property="og:title" content="{{ og_title }}" />
<meta property="og:type" content="{{ og_type }}" />
<meta property="og:url" content="{{ og_permalink }}" />
<meta property="og:image" content="{{ og_image }}" />
<meta property="og:description" content="{{ og_description }}" />
<meta property="og:site_name" content="{{ og_site }}" />